
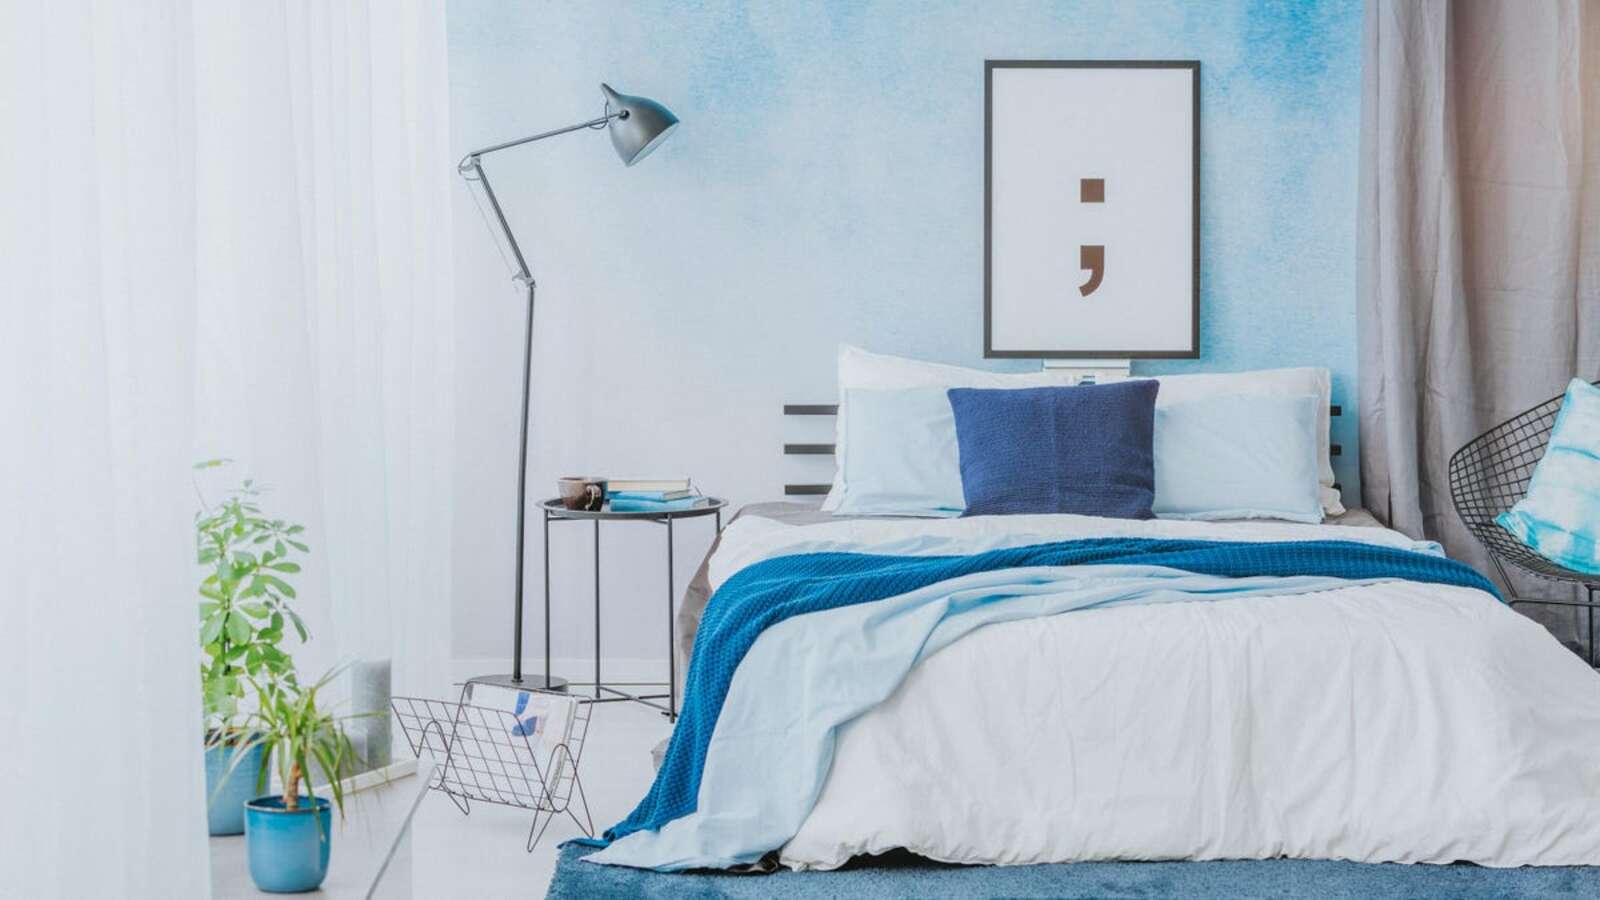
To add a bold splash of color to your space, watercolor mural accent walls are the rising trend. While you could put up watercolor wallpaper, you can opt for a truly unique mural by painting one yourself—it’s not as difficult as you might think, requiring just a few tools and materials. Here’s what you’ll need to get started.
Start with a blank canvas
It will be easier to blend your colors and get a predictable result if your base wall color is a flat white. Tints or color will make it more difficult to produce a watercolor effect, as layering one color over another can create a muddy looking result. If you do elect not to paint your wall white first, do a test patch on a piece of wood or cardboard to make sure it will come out the way you want.
Tools and materials
To start, pick your paint color(s). Beginner-level watercolor murals will feature one or two colors, but if you’re an experienced DIY-er, adding more is definitely in-bounds; just make sure you design allows enough room to blend the edges of your colors so they don’t overlap too much.
For each color you’re using, you’ll need a container of paint, a container of water, a brush, and a rag. Choose an interior, latex paint with a satin or eggshell finish in a shade that is the most saturated tone you want to achieve, as you’ll be diluting it to create your watercolor effect. In addition to your paint colors, keep some of the base wall color on hand in case of mistakes (you can use it like white-out to cover anything on the wall you don’t like). Other materials you’ll need: a spray-bottle with clean water, extra rags, and a drop cloth to protect the floor—the watered-down paint will is likely to drip more easily.
G/O Media may get a commission

40% Off
iRobot Roomba 692 Robot Vacuum
Auto-vac
This robot vacuum features a three stage cleaning system to make sure it really gets the dirt up, uses an edge-sweeping brush to get into corners, uses a suite of different sensors to make sure it doesn’t crash into things, can actively track the areas of your home that are dirtier, and works on hard and soft floors.
Create your shape(s)
To create a shape on the wall, dip your brush into the full-strength paint color of your choice. Paint the upper outline of your shape on the wall. (While there are no rules to how to paint your mural, soft, curving lines and diagonal shapes will draw interest and keeps things from looking too orderly.) Spray your paint line with water and use a rag to blend the paint away from the line. You can blend more in one direction than the other to create a more random effect. Blot over any drips to blend them in. Repeat this process for the lower edge, and then again to fill in your shape.

Add some irregularity
Next, use your wet paint-color rag to add some darker areas connected to your main shape. Dip the moistened rag in your paint and then dab some onto the edge of your shape to add irregularity along your original line, then blend it using the spray bottle and a clean rag. To add lighter areas, use a clean, dry rag to blot some of the darker areas of your shape.
These areas of darker and lighter paint will help to feather out the edges of your shape and create a more fluid effect. Repeat this process for each paint color, avoiding too much overlap.
Add final touches
Take a step back to observe the entire wall before you decide you’re finished. If you see any areas with obvious brush strokes remaining, or anything that looks too well defined, go over it again with a wet rag and some paint or some water (depending on if you want them to be darker or lighter) until you get a more subtle, blended appearance.
Touch up your wall
Once your artwork is dry, you can use a clean brush to paint out any mistakes using your base wall color. To make your fixes blend in once dry, make sure to use a small amount of paint and a dry brush.
Credit: Source link

