Water can help your garden feel more tranquil—and it can encourage birds and other wildlife to spend more time in your yard. Adding a water feature can sound intimidating, but it doesn’t have to be. You can get all the benefits of having a backyard oasis without a lot of hassle. Here are some simple tools and tips you can use to add some serenity to your garden without too much effort.
The materials you need to make a DIY water feature
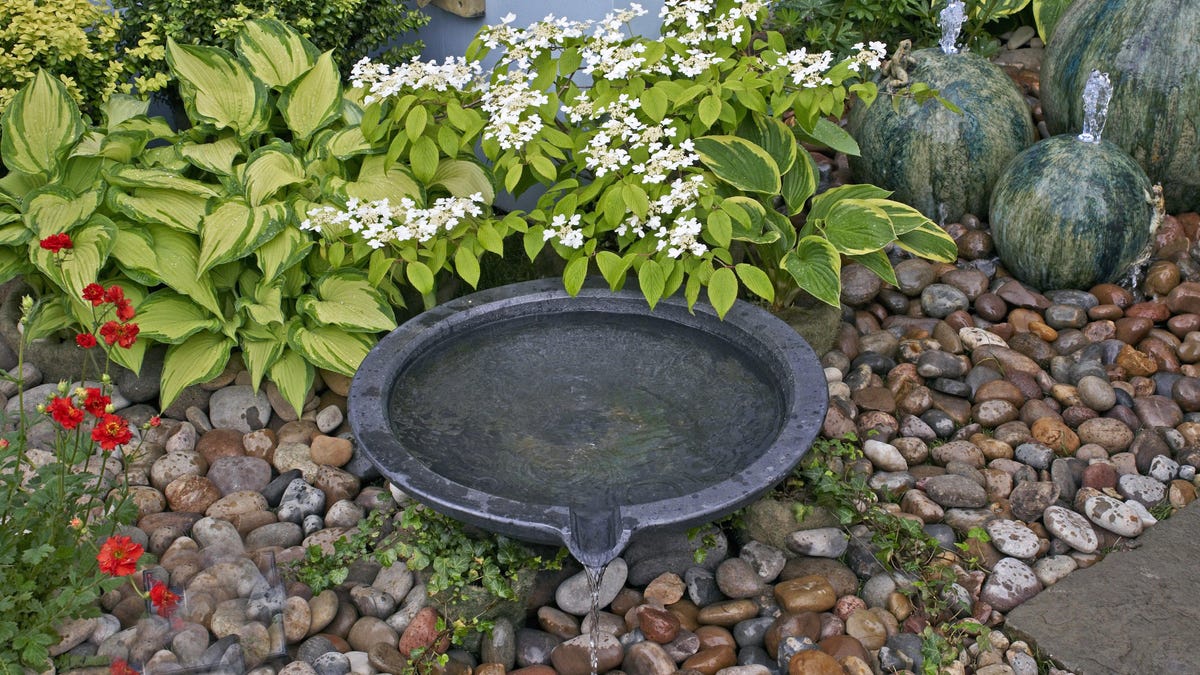
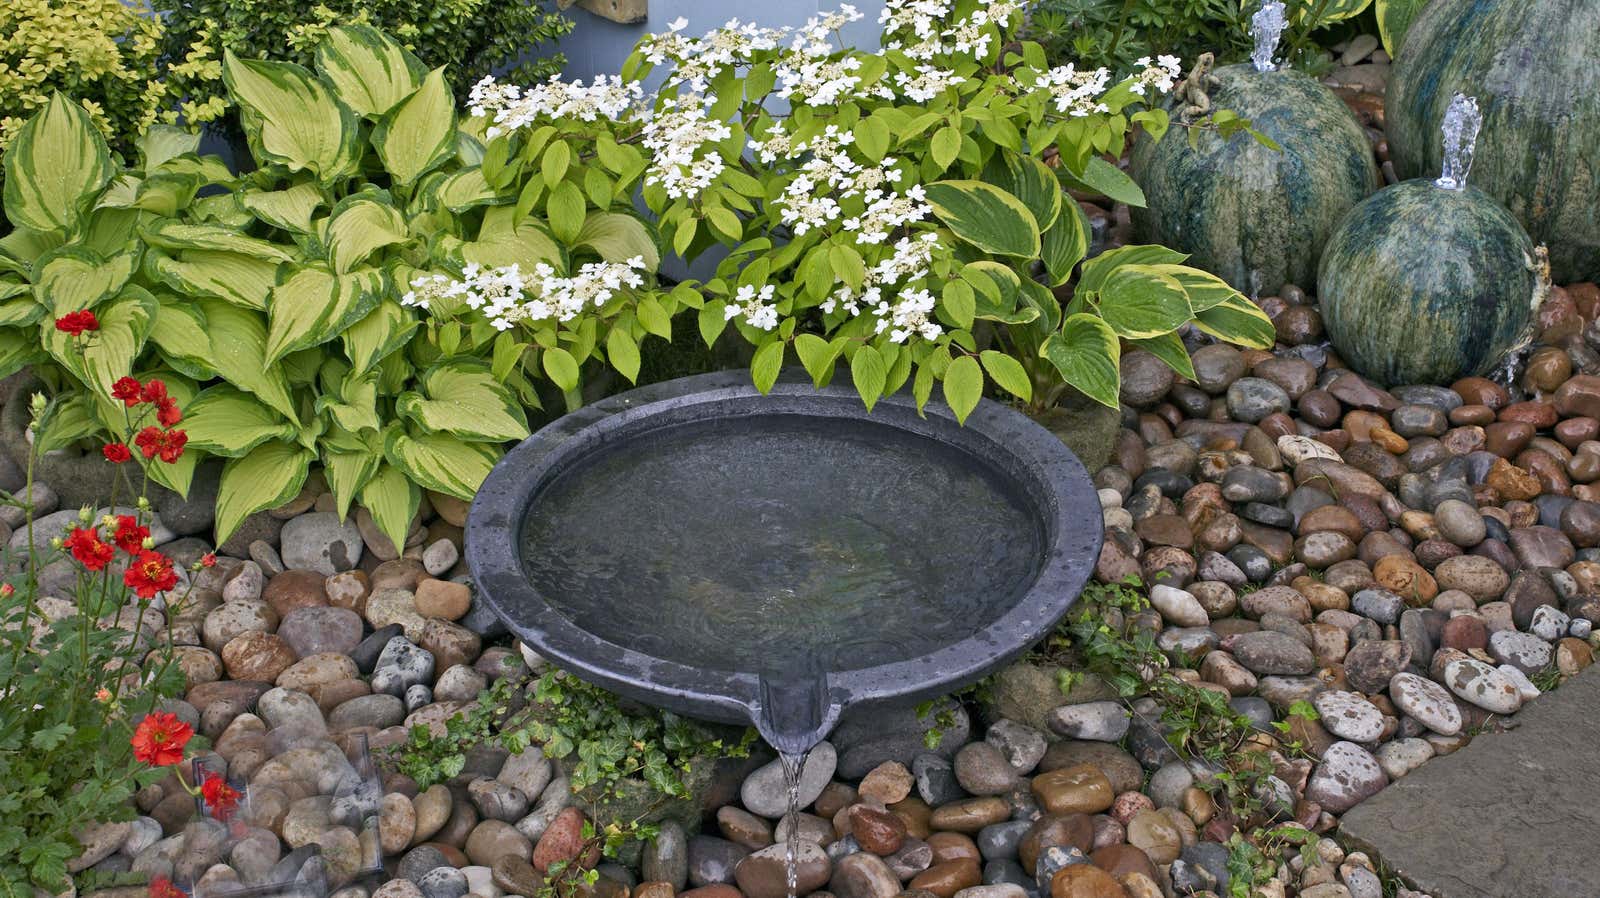
For this type of project, you won’t need too many tools: a tape measure, and some scissors for cutting plastic tubing are the things you’ll use the most. The rest of the materials will be project-dependent, and this is where you can really let your creativity shine through. The containers you use for your water to create a welcoming habitat for plants or pollinators are really up to you—a thrift store or garage sale are great places to start looking for inspiration to choose a container for your water feature. For a small, pond-like feature, you can begin with a large water-tight container like a stock tank, stock pot, or a repurposed bathtub basin.
Whether or not you add plants will depend on your climate, but there are plenty of aquatic plants that will thrive in a container and benefit your local wildlife, as well. Water hyacinth, sensitive plant, and moneywort are just a few of the plants that will thrive in a small water feature. These types of plants add a place for bees, birds, and dragonflies to light while enjoying the water. If you don’t want to add plants, you can add pebbles so that a few break the water’s surface to allow wildlife to enjoy the water. After that, just some weeding and attention to the water level is all your mini pond will need.
How to add motion and running water to your water feature
For a water feature with moving water, you’ll need a pump and some tubing. There’s no need to run wires for power, though—you can use a pump kit that comes with its own solar power source. For a simple spring of water that you can add to any container, you won’t even need any tubing, just a water level that’s the right height for the size of the fountain. You can find the height of the spray nozzle of your fountain head in the manufacturer spec section of the product label or listing. Make sure that your solar power supply is exposed to enough light to keep your fountain going.
If you’re going for a running water look, like a stream of water spilling from a pot or over some rocks, using some tubing to direct the flow of water is simple. First, connect the tubing to the pump with a tube clamp by sliding the clamp onto the tube and then sliding the tube onto the pump output. Do the same with the input, and direct the tube to the deepest part of your fountain to ensure that the flow of water remains uninterrupted. You can buy lengths of hose that come with clamps if you’re unsure of what size to get. Then, use the tubing to direct the flow of the water towards your target. Stop a few inches short of the surface and trim the hose so the tubing stays hidden. Depending on your intended effect, you can use pebbles to hold your hose in place.

If you want to create a fountain with running water through a pot or a vase, thread the tube through a drain hole in the pot or drill a hole in the vase to thread the tube through. Make sure the hole is above the intended water level so that you don’t get spill-back.
Credit: Source link

